
Introduction
Start your yoga journey with this beginner-friendly sequence. Learn 10 simple poses to improve flexibility, posture, and calmness naturally at home. If you’ve ever wished your body felt looser, lighter, and more graceful, yoga might be exactly what you need. Flexibility isn’t about touching your toes overnight—it’s about teaching your body patience, balance, and awareness. Whether you sit at a desk all day or simply want to move more freely, this beginner yoga sequence for flexibility will help you stretch your muscles safely, open up tight joints, and feel more relaxed after each session.
In this guide, we’ll explore why flexibility matters, how to prepare for practice, and a step-by-step sequence that anyone can follow from home.
What Does Flexibility Mean in Yoga?
Flexibility in yoga goes beyond physical stretch—it’s the ability of the body and mind to adapt. When you loosen your muscles, you also release stored tension and stagnant energy. The more open your body becomes, the more freely your breath and prana (life force) can flow.
Physical vs. Functional Flexibility
- Physical flexibility refers to how far your muscles and joints can move.
- Functional flexibility means using that range of motion effectively in daily life—like bending to tie your shoes or twisting to reach something behind you.
Yoga builds both. Over time, it helps improve posture, coordination, and even circulation.
Why Beginners Should Start Slow
Beginners often try to copy advanced poses seen online, but flexibility grows gradually. Stretching too deeply, too fast can lead to micro-tears or joint strain. A safe rule: move to the point of mild discomfort, not pain. Breathe through that space, and your body will open naturally.
Benefits of a Beginner Yoga Sequence for Flexibility
When you practice regularly, even for 15–20 minutes a day, the benefits accumulate fast.
1. Releases Tension and Stress
Tight muscles are often a physical sign of mental stress. Gentle yoga stretches activate your parasympathetic nervous system, signaling your body to relax.
2. Improves Posture and Balance
As flexibility increases in the hips, shoulders, and hamstrings, your body naturally aligns better. You’ll stand taller and move with greater ease.
3. Prevents Injuries
Flexible muscles are less prone to strain. Yoga teaches body awareness, so you notice your limits and move safely whether exercising or doing daily chores.
4. Enhances Circulation and Energy Flow
Dynamic stretching through poses like Downward Dog or Cat-Cow boosts blood flow, delivering oxygen to stiff areas and restoring energy.
5. Builds Confidence and Mindfulness
Each small improvement reminds you that growth takes patience. This self-trust extends beyond the mat—into your mindset and daily life.
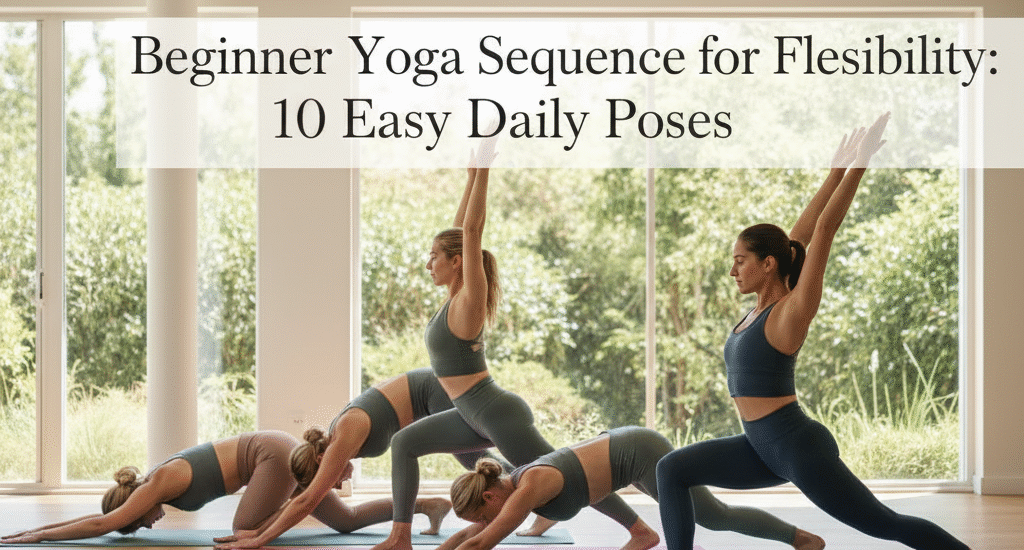
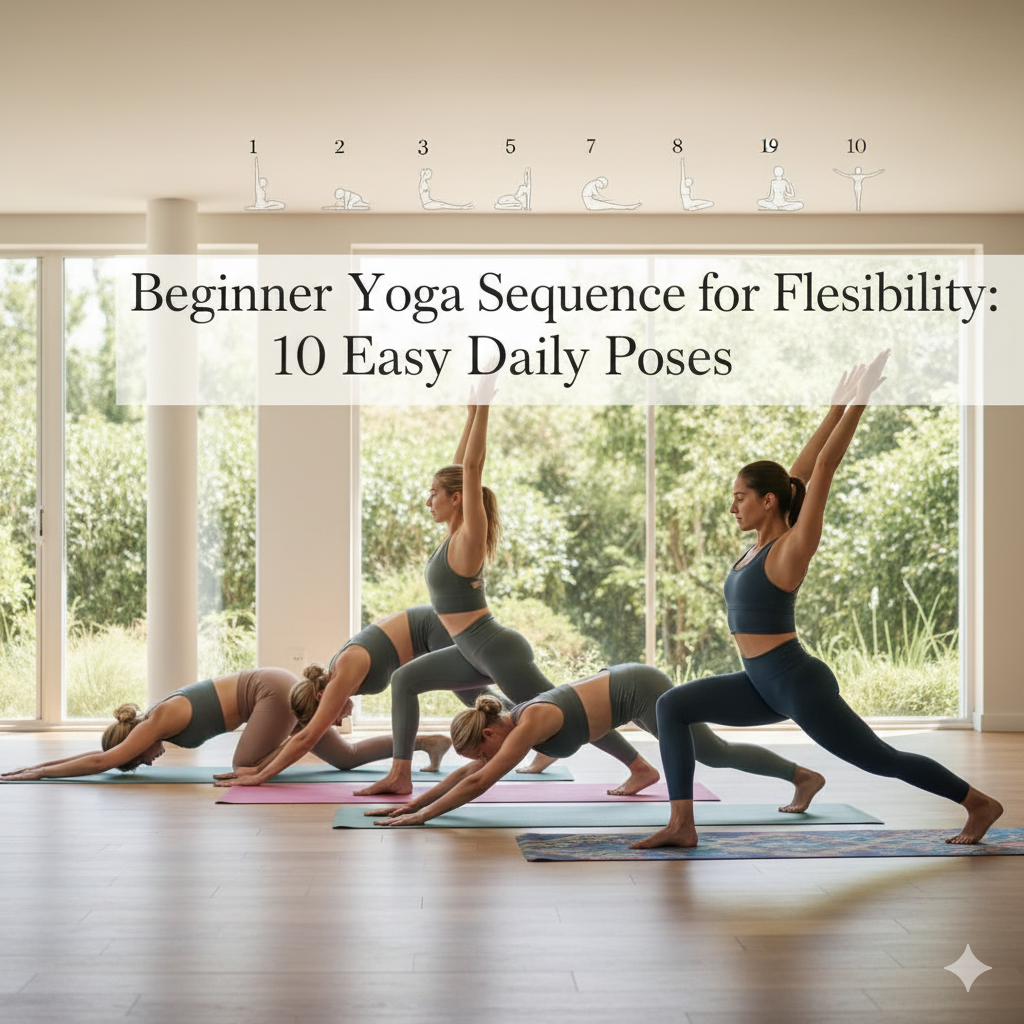
Step-by-Step Beginner Yoga Sequence for Flexibility
Before starting, take a few deep breaths. Find a quiet space, roll out your mat, and wear comfortable clothes. You don’t need to be flexible yet — this sequence builds flexibility over time.
1. Easy Seated Pose (Sukhasana) – Find Your Center
Start by sitting cross-legged. Rest your hands on your knees, close your eyes, and breathe deeply.
- Focus: Calms your mind and grounds your energy.
- Tip: If your hips feel tight, sit on a folded blanket to elevate your pelvis.
Stay here for 5–8 breaths, lengthening your spine with each inhale and relaxing your shoulders with each exhale.
2. Cat-Cow Stretch (Marjaryasana-Bitilasana) – Warm Up the Spine
Move onto your hands and knees with wrists under shoulders and knees under hips.
- Inhale: Drop your belly, lift your head and tailbone (Cow Pose).
- Exhale: Round your spine and tuck your chin (Cat Pose).
Repeat 8–10 times with slow, steady breathing.
- Benefits: Increases spinal flexibility, improves posture, and wakes up the back muscles.
3. Downward-Facing Dog (Adho Mukha Svanasana) – Stretch the Whole Body
From all fours, lift your hips up and back, forming an inverted V shape.
- Keep knees slightly bent if your hamstrings are tight.
- Press through your palms and lengthen your spine.
Hold for 5–7 breaths.
- Benefits: Opens shoulders, hamstrings, and calves while strengthening arms and core.
4. Low Lunge (Anjaneyasana) – Open the Hips
Step your right foot between your hands, drop your left knee, and lift your chest.
- Keep your front knee over your ankle.
- Place hands on your thigh or reach them overhead.
Hold for 5 breaths per side.
- Benefits: Stretches hip flexors, strengthens legs, and improves balance.
🔗 [Related: Simple Morning Yoga Routine for Beginners]
5. Seated Forward Fold (Paschimottanasana) – Lengthen the Hamstrings
Sit with legs extended forward.
- Inhale to lift your arms overhead.
- Exhale to fold forward, reaching toward your feet.
If you can’t reach your toes, hold your shins or use a strap around your feet.
Hold for 8–10 breaths.
- Benefits: Improves flexibility in the back, hamstrings, and calves while calming the mind.
6. Butterfly Pose (Baddha Konasana) – Loosen Inner Thighs
Bring the soles of your feet together and let your knees fall outward.
- Hold your feet with your hands.
- Gently flap your knees like butterfly wings or hold the stretch still.
Stay for 10 deep breaths.
- Benefits: Opens hips and inner thighs; great for those who sit long hours.
7. Bridge Pose (Setu Bandhasana) – Release Lower Back
Lie on your back with knees bent and feet hip-width apart.
- Press your feet and arms into the mat as you lift your hips.
- Keep your chin tucked slightly.
Hold for 5 breaths, then slowly lower down.
- Benefits: Strengthens glutes and spine, opens the chest, and improves flexibility of the front body.
8. Supine Twist (Supta Matsyendrasana) – Release Tension in the Spine
Lie on your back, hug your knees to your chest, then let both knees fall to one side.
- Keep shoulders grounded.
- Turn your head in the opposite direction for a deeper twist.
Hold for 5–8 breaths per side.
- Benefits: Improves spinal mobility and digestion, releases lower back stiffness.
9. Child’s Pose (Balasana) – Rest and Reflect
Sit back on your heels, stretch your arms forward, and rest your forehead on the mat.
- Breathe deeply into your lower back.
Stay here for 10–12 breaths or longer if you like.
- Benefits: Relaxes the body, reduces stress, and gently stretches the hips and spine.
10. Corpse Pose (Savasana) – Complete Relaxation
Lie flat on your back with arms and legs comfortably apart.
Close your eyes and let go of all effort.
Stay for 2–5 minutes.
- Benefits: Integrates all the benefits of your practice, balancing body and mind.
🪷 Tip: Consistency matters more than intensity. Even 15 minutes of daily gentle yoga will transform your flexibility over time.
Common Mistakes Beginners Make in Yoga for Flexibility
When you’re just starting out, it’s easy to focus too much on the “look” of a pose instead of the “feel.” Here are some frequent mistakes — and how to fix them:
1. Pushing Too Hard, Too Soon
Many beginners try to touch their toes or force deep stretches. This can lead to strain or injury.
- Correction: Move slowly. Flexibility is built over time, not overnight. Focus on consistent breathing and gentle movement.
2. Ignoring the Breath
Holding your breath creates tension in your muscles.
- Correction: Sync every movement with your breath — inhale to lengthen, exhale to relax deeper into the pose.
3. Comparing Yourself to Others
Everyone’s body is different. Some people are naturally flexible, others take longer.
- Correction: Use props like straps, bolsters, or blocks. Honor where your body is today.
4. Skipping Warm-Up or Cool Down
Jumping straight into deep stretches can shock the muscles.
- Correction: Always start with gentle movements (like Cat-Cow) and end with restorative poses (like Child’s Pose).
5. Inconsistency
Practicing once a week won’t bring lasting results.
- Correction: Even 10–15 minutes daily creates progress. Build a realistic schedule — mornings or evenings are ideal.
🌼 Tips to Improve Flexibility Faster
- Stay Hydrated: Muscles stretch better when your body is hydrated.
- Eat Light Before Practice: Avoid heavy meals at least 2 hours before yoga.
- Use Breathwork (Pranayama): Deep breathing relaxes tight muscles.
- Hold Poses Longer: Gradually increase from 5 to 10 breaths per pose.
- Try Yin Yoga Once a Week: It focuses on deep, slow stretches.
- Be Patient: Flexibility develops slowly — enjoy the journey, not just the result.
🔗 [Related: 5 Morning Yoga Poses for Energy and Focus]
❓ Frequently Asked Questions
1. How long does it take to improve flexibility with yoga?
It depends on your consistency and starting point. Most beginners notice visible changes in 4–6 weeks of regular practice.
2. Can I do this sequence every day?
Yes! This beginner yoga sequence is safe for daily practice. Just remember to rest if you feel sore or tired.
3. What time of day is best for yoga for flexibility?
Early morning (on an empty stomach) or evening (after light food) are best times for flexibility-focused yoga.
4. I’m not flexible at all — can I still start yoga?
Absolutely! Yoga is how you become flexible. The key is to start where you are and move gradually.
5. Should I do warm-up before yoga?
Yes. Even 5 minutes of light stretches or breathing helps prepare your muscles and joints.
🧘 Conclusion
Building flexibility isn’t just about stretching muscles — it’s about softening the mind. When you let go of expectations and focus on your breath, the body naturally opens.
Start small, stay consistent, and celebrate each improvement. With time, yoga will not only make you flexible, but also calm, confident, and connected to yourself.
Remember: Flexibility is a journey — and every pose, every breath, takes you one step closer to balance.
✍️ Author’s Note
I still remember how stiff I felt when I began yoga. With patience and daily practice, my body transformed — and so did my mindset. Start today, even if you can’t touch your toes yet. You’ll be amazed at what your body can do. 🌿